Absolutely! Let’s make a detailed guide for creating a Tunisian crochet headband themed for the Year of the Tiger. I’ll break it down step by step, including materials, techniques, and creative ideas for tiger-inspired patterns.
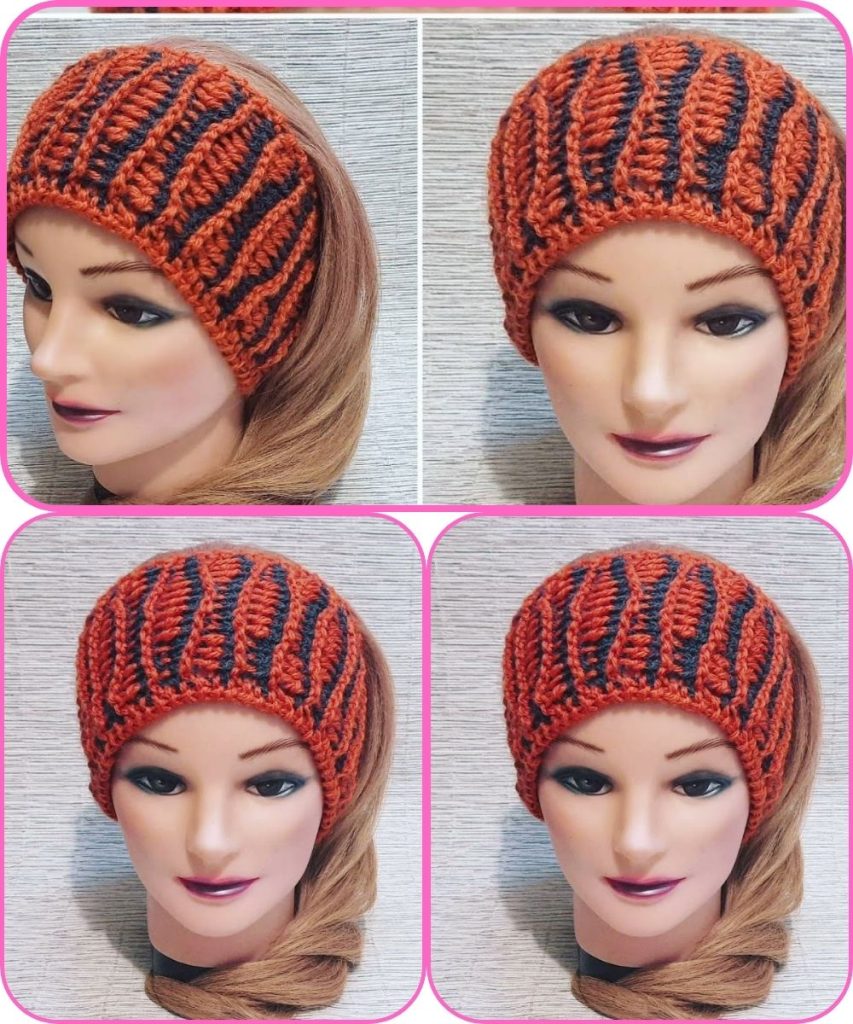
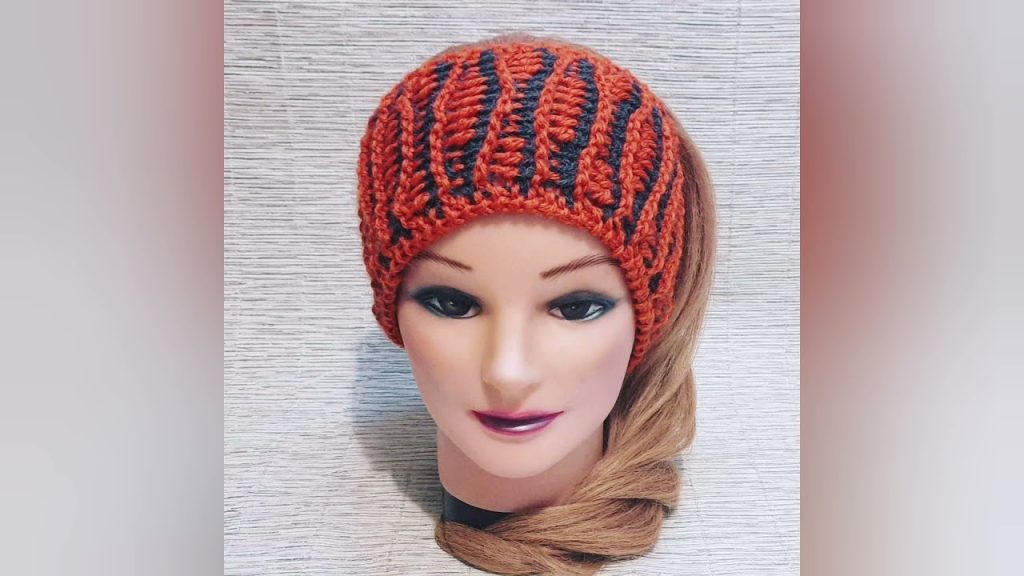
Tunisian Crochet Headband – Year of the Tiger
Materials Needed
- Yarn: Medium-weight (worsted) yarn.
- Tiger colors: Orange, black, and white.
- Hook: Tunisian crochet hook (length 10–12 inches is standard for headbands, but you can use shorter if preferred).
- Scissors
- Yarn needle for weaving in ends
- Optional: Stitch markers for pattern guidance
Step 1: Measuring and Planning
- Measure the circumference of your head or the person you are making the headband for. Typically, adult headbands are 18–20 inches around.
- Decide on width: 3–5 inches is standard for a Tunisian crochet headband.
- Tiger design ideas:
- Stripes: Alternate orange and black stripes.
- Tiger face or paw: You can use colorwork or embroidery after finishing the band.
- Ear accents: Small pointed “ears” at the top of the headband if desired.
Step 2: Foundation Chain
- Chain the length of your head circumference (minus a little for stretch). Example: 70–80 chains for an adult headband.
- The chain must be even, as Tunisian stitches often require it for uniformity.
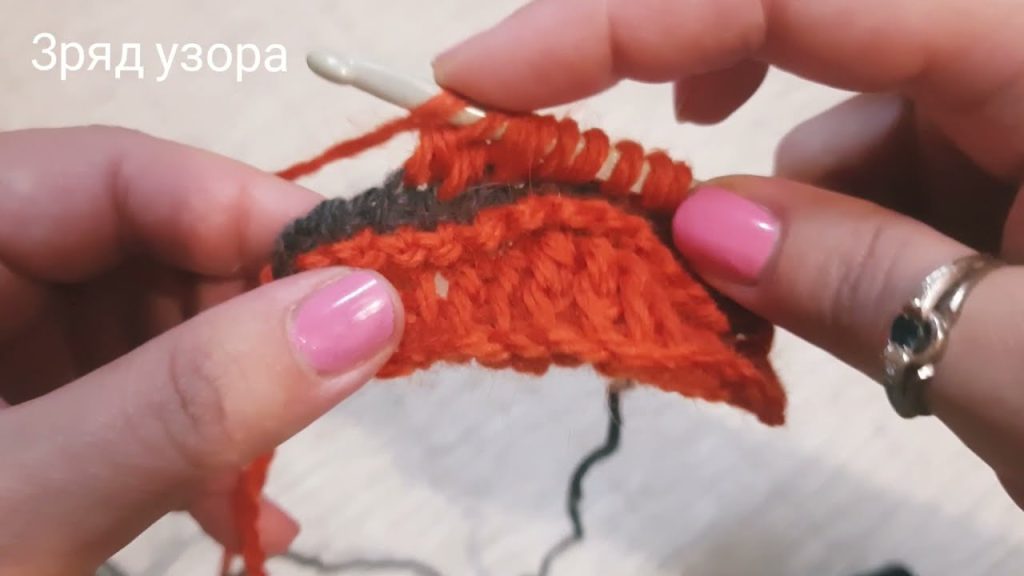
Step 3: Tunisian Crochet Basics
- Tunisian Simple Stitch (TSS) – the most common stitch:
- Insert hook into next chain, yarn over (YO) and pull up a loop (leave loop on hook).
- Repeat across the chain; you will have a loop on your hook for each chain.
- Return pass: YO, pull through one loop only. Repeat across the row until 1 loop remains.
- Tunisian Knit Stitch (TKS) – optional for a smoother, more “knit-like” texture:
- Insert hook as if knitting into front and back of the vertical bar, YO, pull up a loop.
- Return pass same as TSS.
- Tunisian Purl Stitch (TPS) – optional for stripe texture:
- Insert hook from back to front, YO, pull up a loop. Return pass as usual.
Step 4: Pattern for Tiger Stripes
- Stripe Width: 4–6 rows per color works well.
- Order:
- Orange (main color) – 6 rows
- Black (stripe) – 2 rows
- Orange – 6 rows
- Black – 2 rows
- Repeat until you reach desired width.
- Use color change technique: drop old color, pick up new color, leave 1–2 loops from old color for smooth transition.

Step 5: Finishing the Headband
- Once your band reaches the desired width, bind off in Tunisian style:
- Pull the last loop through the previous loop until one remains.
- Cut yarn and pull through last loop.
- Sew the short ends together to form a loop using yarn needle.
- Optional: Add ears or embroidery for tiger features.
- Small triangular ears can be crocheted separately and sewn on.
- Embroider eyes, nose, or stripes using black yarn.
Step 6: Weaving in Ends
- Use a yarn needle to neatly weave in all loose ends on the inside of the headband.
- Trim any excess yarn.
Tips
- Tunisian crochet tends to be less stretchy, so a slightly smaller chain length than head circumference is recommended.
- Keep tension even to avoid curling edges.
- Blocking is optional but can help flatten the headband and even out stitches.
- Experiment with textures by mixing TSS and TKS for a more interesting tiger look.
Optional Creative Ideas
- 3D Tiger Ears: Make two small triangles with TSS or standard crochet, attach to top of headband.
- Face Detailing: Use black yarn to embroider stripes, eyes, and nose for a cute tiger face on the front.
- Pom-Poms: Orange and black pom-poms can be added for extra flair.
If you want, I can make a full stitch-by-stitch Tunisian crochet chart for a tiger-striped headband with exact row counts and color changes—it would basically be ready to crochet step by step.
Watch tutorial:
Comments
Post a Comment