Sure! Here’s a detailed guide on how to make a crochet bag with a stunningly beautiful diamond pattern. This project is great for intermediate-level crocheters, but beginners with some experience can also follow along with patience and care.
 How to Make a Crochet Bag with a Stunning Diamond Pattern
 Overview:
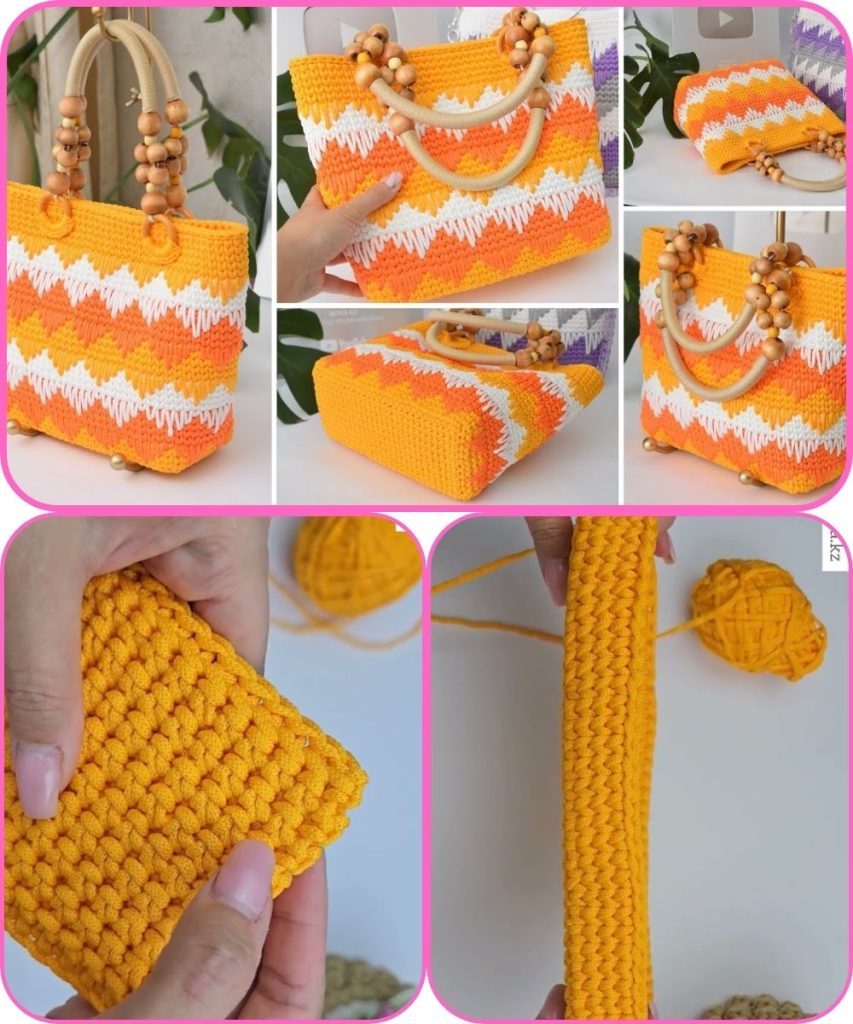
A diamond-pattern crochet bag looks elegant, geometric, and sophisticated. This pattern uses a combination of basic stitches and post stitches to create textured diamonds that stand out beautifully.
 Materials Needed:
| Item | Recommendation |
|---|---|
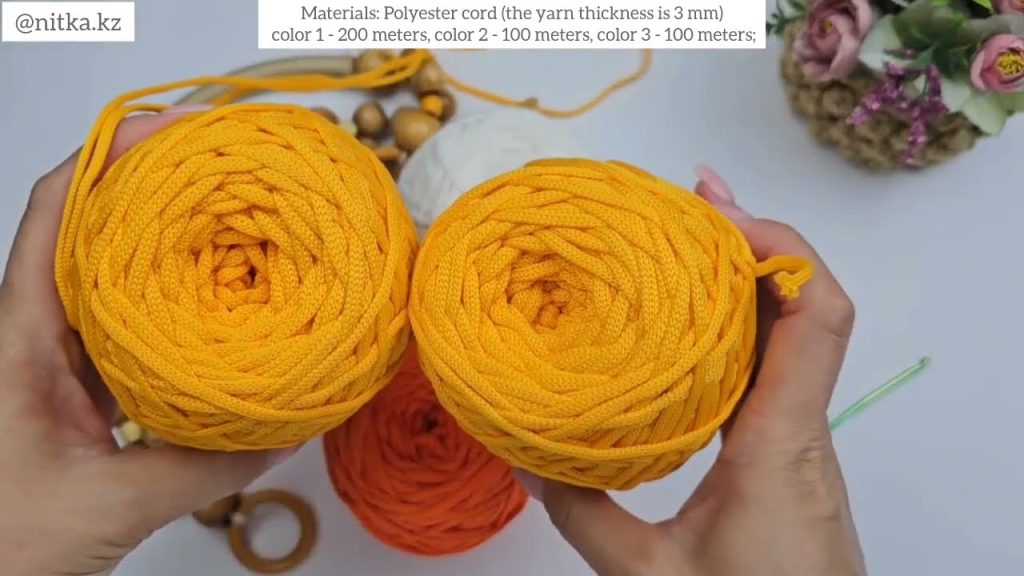
| Yarn | Worsted weight cotton or acrylic yarn (medium #4) |
| Hook | 4.0 mm or 4.5 mm crochet hook |
| Stitch markers | Optional, for keeping track of rounds |
| Scissors | Any sharp pair |
| Tapestry needle | For weaving in ends |
| Lining fabric (optional) | For extra durability |
| Magnetic snap/button/zipper | Optional closure |
 Stitches & Abbreviations Used:
| Abbreviation | Stitch |
|---|---|
| ch | chain |
| sc | single crochet |
| dc | double crochet |
| sl st | slip stitch |
| fpdc | front post double crochet |
| bpdc | back post double crochet |
| sk | skip |
| st(s) | stitch(es) |
| rep | repeat |
 About the Diamond Pattern
The diamond pattern is created by alternating fpdc and bpdc stitches in a sequence that builds the shape of a diamond. These are raised textured stitches, which pop out from the base fabric. Think of it like cable work in knitting.
Step-by-Step Instructions
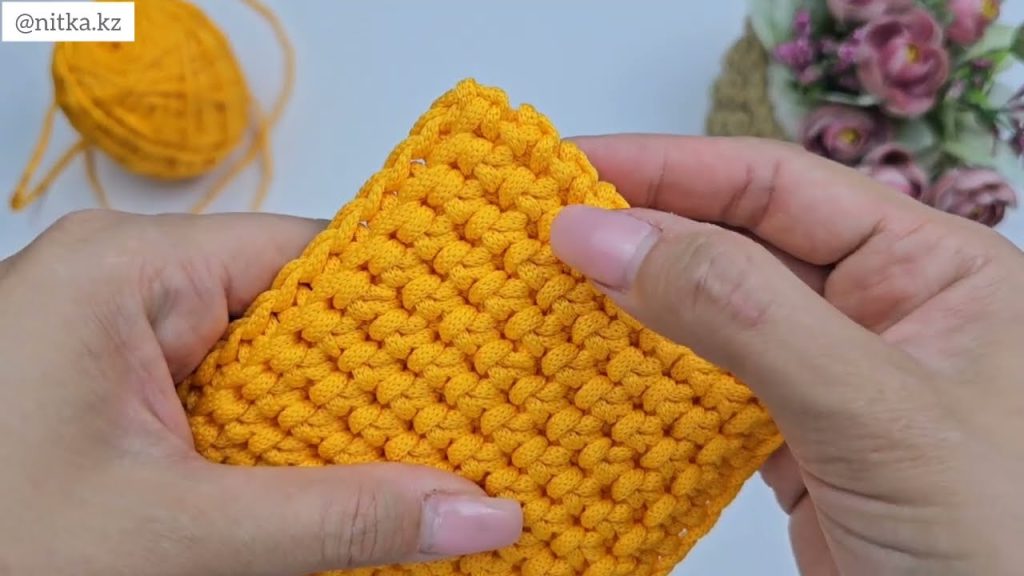
Step 1: Create the Base of the Bag
You can choose either a round or rectangular base. Let’s go with a flat rectangular base.
Foundation Row:
- Ch 41 (or as wide as you want the base)
- Row 1: Sc in 2nd ch from hook and across. Turn. (40 sts)
- Row 2-6: Sc in each st across. Turn.
- You should now have a rectangular panel. This will form the bottom of the bag.
Step 2: Start the Body of the Bag
Round 1:
- Sc evenly around the entire rectangle (place 2 sc in each corner). Join with sl st to the first sc.
Round 2:
- Ch 2 (counts as dc), dc in each st around. Join.
Round 3-4 (Optional for height):
- Dc in each st around.
Step 3: Begin the Diamond Pattern
 Pattern Repeat (worked in rounds)
Let’s use a 12-stitch repeat for the diamond. For best results, make sure the total stitch count is a multiple of 12.
Diamond Pattern (Over 12 Rows)
Here’s a simple version of a diamond pattern using post stitches:
Round 1: (Base Round)
- Ch 2, dc in each st around. Join.
Round 2: (Begin shaping)
- [Fpdc around next st, dc in next 2 sts, fpdc around next st, dc in next 2 sts, fpdc around next st, dc in next 2 sts] repeat around.
Round 3:
- [Dc in 1st st, fpdc around next st, dc in next st, fpdc around next 3 sts, dc in next st, fpdc around next st, dc in next st] repeat.
Round 4:
- Continue increasing fpdc stitches inward until the middle of the diamond (like a pyramid).
Mid-Round (Row 6):
- You’ll have a full diamond – 5 fpdc in a row at the peak.
Following Rows:
- Mirror the shaping backwards (fpdc decrease from the center outward) to close the diamond.
Tip: Always align your fpdc stitches vertically to maintain a diamond shape. Use a stitch diagram or graph paper to sketch the pattern visually.
Step 4: Repeat the Diamond Pattern
- Continue repeating the 12-row diamond pattern until the bag reaches your desired height.
Step 5: Finishing the Top
- Finish with 2-3 rounds of sc or bpdc to create a neat edge and prevent curling.
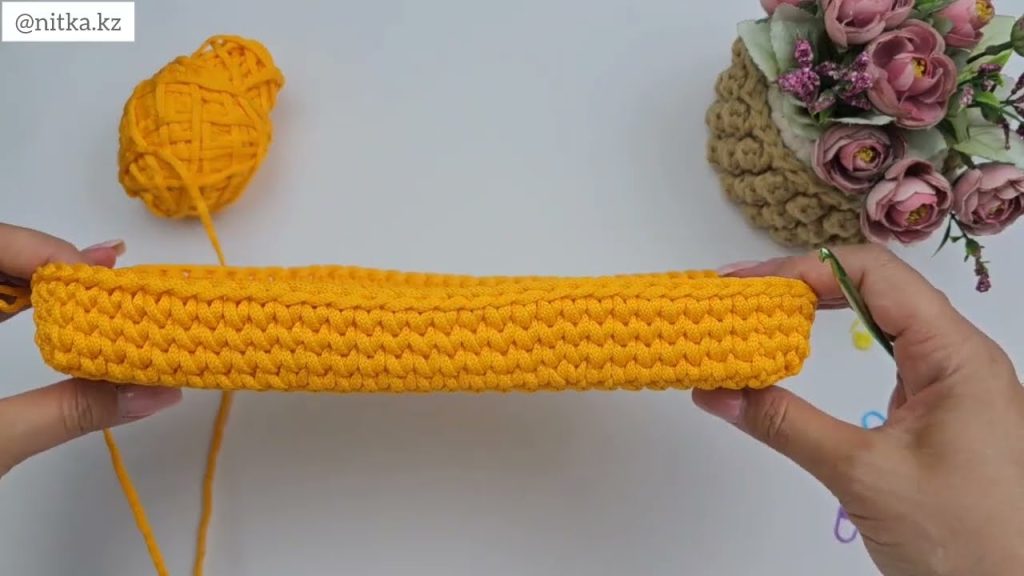
 Step 6: Add Handles or Straps
You can crochet straps or attach ready-made handles.
Simple Strap:
- Ch 100 (or desired length), sc in each ch. Make 2.
- Attach securely to the inside of the bag using strong whip stitches.
 Optional: Add Lining
- Cut fabric to the size of the bag interior.
- Sew with a sewing machine or by hand.
- Attach to the bag using a whip stitch or fabric glue.
- Add zipper or magnetic snap if desired.
 Done! Your Diamond Crochet Bag is Ready!
 Customization Ideas:
- Use two colors: one for the base and one for the diamond pattern.
- Use variegated yarn for a modern twist.
- Add tassels, pom-poms, or metal rings for flair.
Summary of Steps:
- Crochet a rectangular base.
- Work sc and dc rounds to build the body.
- Follow a 12-round diamond fpdc pattern.
- Repeat the pattern until desired height.
- Finish the top with clean edging.
- Add straps and lining if desired.
Watch tutorial:
Comments
Post a Comment