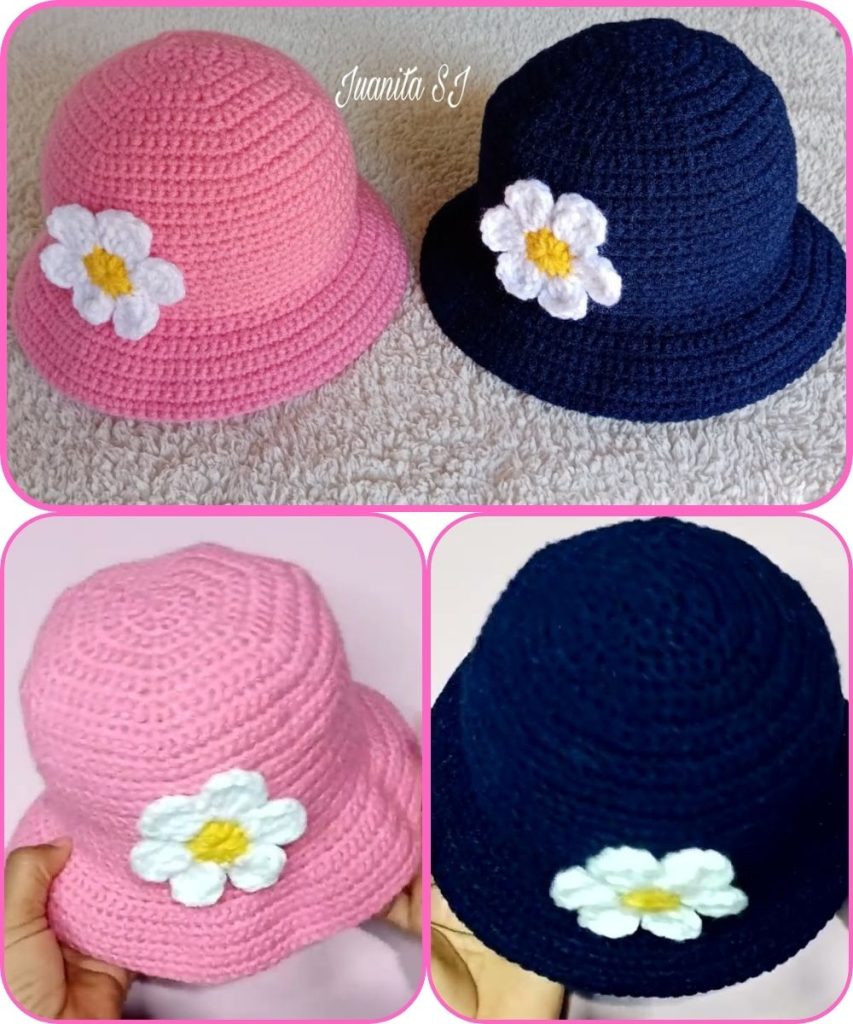
Here’s a detailed guide on how to make a crochet hat in all sizes, including how to adjust for different head sizes from newborn to adult. This guide includes the basic formula, a size chart, and step-by-step instructions for making a classic beanie-style hat using single crochet (sc) or double crochet (dc).
 How to Crochet a Hat in All Sizes
 What You Need:
- Yarn: Medium weight (Category 4) yarn is great for beginners.
- Hook: Use the size recommended on the yarn label (commonly H/5.0mm or I/5.5mm).
- Stitch markers (optional)
- Yarn needle for weaving in ends
- Measuring tape
 Basic Hat Structure:
- Crown – Start with a magic ring or chain circle and increase in rounds.
- Body – Work even rounds with no increases until desired hat height.
- Brim (optional) – Add ribbing or a border if desired.
 Hat Size Chart (Standard Measurements)
| Size | Head Circumference | Hat Height |
|---|---|---|
| Preemie | 12–13 in (30–33 cm) | 4–4.5 in |
| Newborn | 13–14 in (33–36 cm) | 5 in |
| 3–6 months | 14–17 in (36–43 cm) | 5.5–6 in |
| 6–12 months | 16–19 in (40–48 cm) | 6.5–7 in |
| Toddler (1–3 yrs) | 18–20 in (46–51 cm) | 7–7.5 in |
| Child | 19–21 in (48–53 cm) | 7.5–8 in |
| Teen/Adult S | 21–22 in (53–56 cm) | 8–8.5 in |
| Adult M/L | 22–24 in (56–61 cm) | 9 in |
Note: Hats stretch! Aim for about 1–2 inches smaller than head circumference for a snug fit.
 Formula to Resize Hats
1. Crown Diameter = Head circumference ÷ 3.14
This gives you the diameter of the circle before you stop increasing.
2. Hat Height = See chart above.
Example:
If head circumference is 20 inches:
20 ÷ 3.14 = 6.36 inches crown diameter.
 Step-by-Step Instructions (Double Crochet Version)
 Start the Crown:
Round 1: Magic ring, ch 2 (counts as first dc), 11 dc in ring. Join with sl st to top of ch 2. (12 dc)
Round 2: Ch 2, 2 dc in each stitch around. Join. (24 dc)
Round 3: Ch 2, 1 dc in next st, 2 dc in next, repeat around. Join. (36 dc)
Round 4: Ch 2, 1 dc in next 2 sts, 2 dc in next, repeat. Join. (48 dc)
→ Continue increasing in this pattern: Add 1 more single dc between increases each round.
Stop increasing when your crown diameter matches the target (use chart/formula).
 Work the Body:
Next Rounds: Dc in each stitch around with no increases. Repeat until your hat reaches the desired height from the size chart.

Add a Brim (Optional):
You can finish with:
- Single crochet round
- Ribbing (e.g., front/back post double crochet)
- Folded brim (make extra rows and fold up)
Alternative: Single Crochet Hat (Tighter, Warmer)
Use same instructions as above, but:
- Use single crochet (sc) instead of dc.
- You’ll need more rounds to reach the same height.
 Tips for Success:
- Use stitch markers to mark the first stitch of each round.
- Try the hat on or measure often.
- For a slouchy hat, add extra height before finishing.
- Want to make it faster? Use bulky yarn and a bigger hook!
 Helpful Resources
YouTube has excellent tutorials for:
- Magic ring (crochet)
- Increasing in the round
Watch tutorial:
Comments
Post a Comment