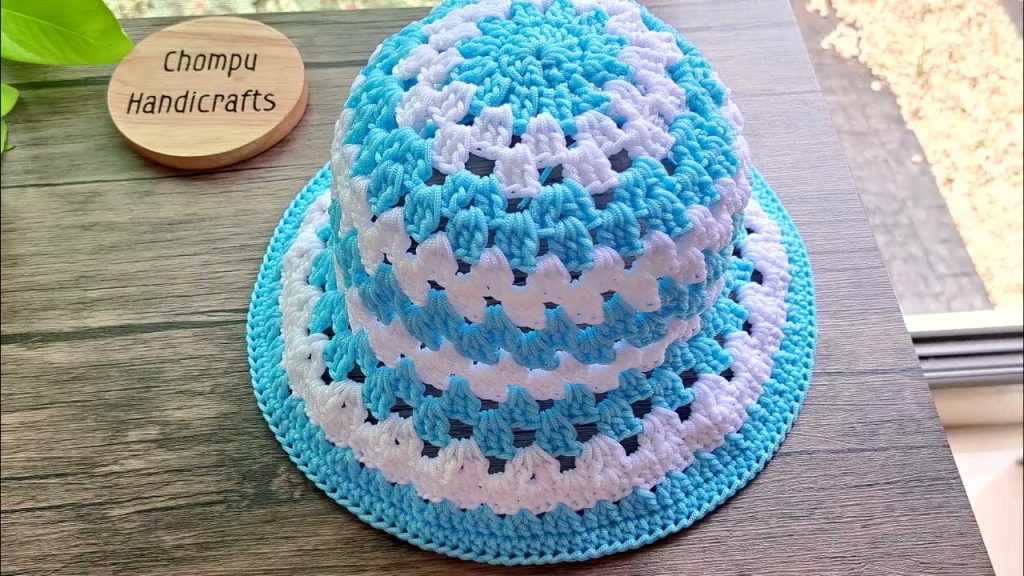
Here’s a detailed “How to Make an Easy Crochet Sun Hat Tutorial” suitable for beginners or intermediate crocheters. This tutorial includes materials, stitch guide, step-by-step instructions, and tips to customize your hat. Let’s get started!
 Easy Crochet Sun Hat Tutorial
 Skill Level: Beginner to Intermediate
 Materials Needed:
| Item | Description |
|---|---|
| Yarn | 100-150g of worsted weight (cotton preferred for breathability) |
| Crochet Hook | 4.0mm – 5.0mm (check yarn label recommendation) |
| Stitch Markers | Optional, but useful for marking rounds |
| Yarn Needle | For weaving in ends |
| Scissors | To cut yarn |
| Measuring Tape | To size your hat as you go |
 Stitches Used (US Terms):
- ch – chain
- sl st – slip stitch
- sc – single crochet
- dc – double crochet
- inc – increase (2 stitches in one stitch)
 Hat Construction Overview:
- Crown – Work in the round from the center top.
- Body – Straight rows without increasing.
- Brim – Add increases again to create a flared brim.
 Step-by-Step Instructions:
 Step 1: Crochet the Crown
Round 1:
Make a magic ring. Ch 2 (counts as 1 dc), 11 dc into the ring. Join with sl st to top of ch-2. (12 dc total)
Round 2:
Ch 2, dc inc in each stitch around. Join with sl st. (24 dc)
Round 3:
Ch 2, dc in next stitch, dc inc in next – repeat around. Join. (36 dc)
Round 4:
Ch 2, dc in next 2, dc inc – repeat around. Join. (48 dc)
Round 5–6:
Continue increasing by adding one more regular dc between increases each round. Stop when the circle is about 6–7 inches in diameter (for an adult head).
Tip: Adjust for baby/child sizes by stopping at 4–5 inches.
Step 2: Work the Hat Body (No Increases)
Rounds 7–14:
Ch 2, dc in each stitch around. Join with sl st.
Adjust the number of rounds depending on how deep you want your hat.
Optional:
- Add texture by alternating dc and sc rows or use a lacy stitch pattern for a breathable hat.
Step 3: Crochet the Brim
Start increasing again to flare the brim out.
Round 15:
Ch 2, dc in next 2 stitches, dc inc – repeat around. Join.
Round 16:
Ch 2, dc in each stitch around. Join.
Round 17:
Ch 2, dc in next 3 stitches, dc inc – repeat around. Join.
Round 18:
Repeat the previous round or continue adding increases for a wider brim.
Customize your brim:
- Wide floppy brim? Keep increasing every other round.
- Shorter brim? Stop after 1–2 increase rounds.
Final Round:
Optionally switch to sc or reverse sc (crab stitch) for a firm edge.
 Finishing Touches
- Weave in all loose ends with a yarn needle.
- Block your hat if needed (especially if cotton yarn was used).
- Add a ribbon, band, or crochet flowers for decoration.
 Customization Ideas:
- Use variegated or gradient yarn for a colorful look.
- Add eyelets (ch-1 spaces) for a lacy summer style.
- Stitch a chin strap or add a drawstring around the band.
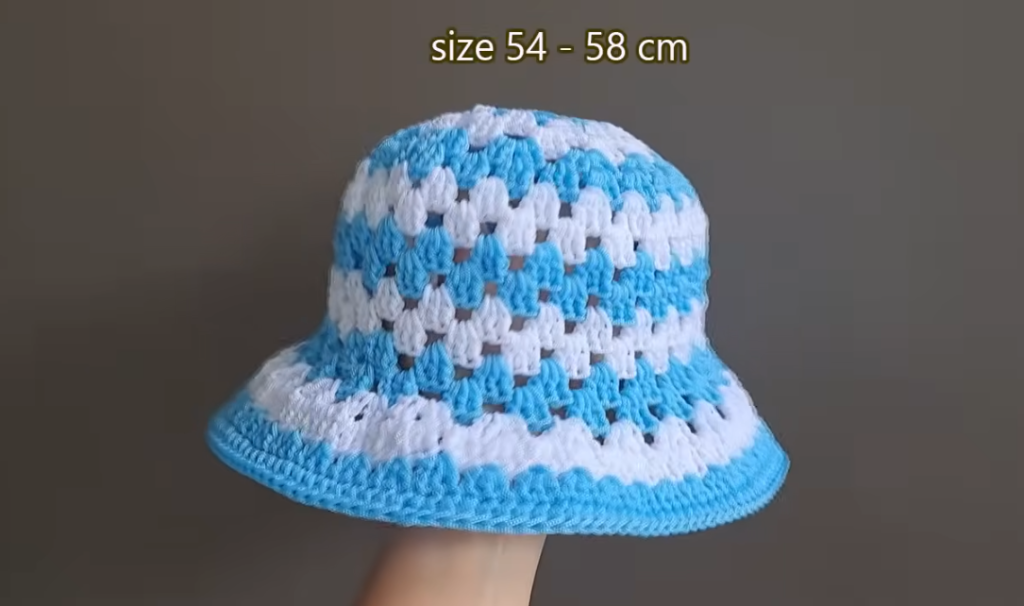
 Sizing Reference (Head Circumference):
| Size | Crown Diameter | Hat Height | Brim Width |
|---|---|---|---|
| Baby (0-12m) | 4.5–5″ | 5″ | 1–2″ |
| Child | 5.5–6″ | 6″ | 2–3″ |
| Adult S/M | 6.5–7″ | 7″ | 2–4″ |
| Adult L | 7–7.5″ | 7–8″ | 3–5″ |
 Optional: Video Tutorial (If Needed)
If you’d like, I can find a beginner-friendly YouTube tutorial that matches this pattern or generate a diagram or visual chart to guide you through.
Watch tutorial:
Comments
Post a Comment