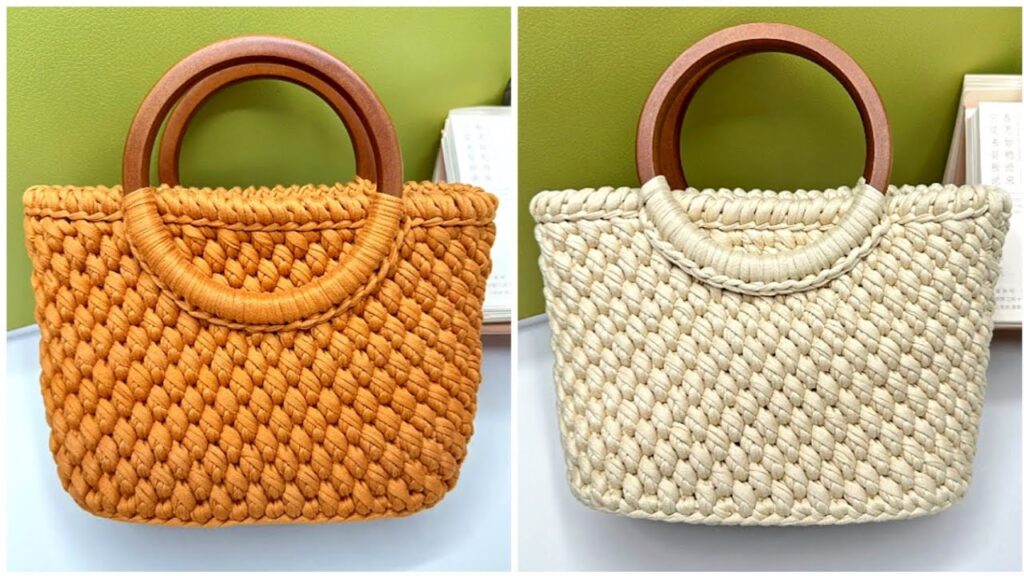
Absolutely! Here’s a detailed guide on how to make a  Super Easy Crochet Tote Bag, perfect for beginners or anyone looking for a quick, stylish DIY project.
Super Easy Crochet Tote Bag – Step-by-Step Guide
 Materials Needed:
- Yarn: 2-3 skeins of medium weight (worsted weight / category 4) cotton yarn
- Hook: 5.0 mm (H-8) crochet hook
- Tapestry needle (for weaving in ends)
- Scissors
- Stitch markers (optional but helpful)
 Approximate Finished Size:
- Width: 13–15 inches (33–38 cm)
- Height: 14–16 inches (36–41 cm) (excluding straps)
 Basic Stitches Used (US Terminology):
- Ch – Chain
- Sl st – Slip stitch
- Sc – Single crochet
- Hdc – Half double crochet
- Dc – Double crochet
 Instructions
Step 1: Base of the Tote Bag (Foundation Row)
plaintextCopyEditCh 41 (or adjust for desired width).
Row 1: In 2nd ch from hook, sc across (40 sc).
Ch 1, turn.
Step 2: Work the Bottom Panel
plaintextCopyEditRepeat sc rows for about 6-8 rows (about 2 inches thick).
Ch 1 and turn after each row.
This creates a solid rectangular base for your tote.
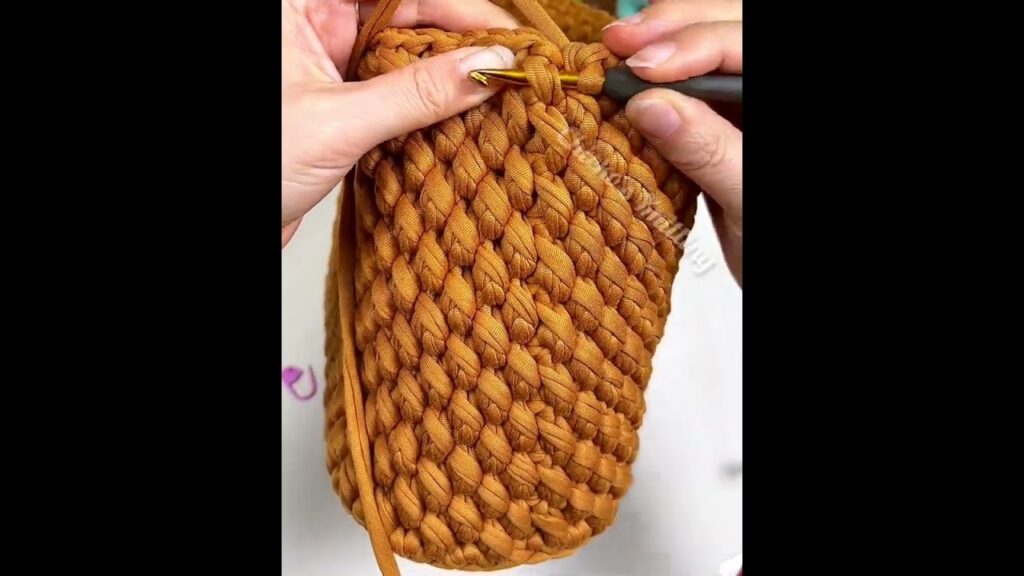
Step 3: Begin Working in the Round (Sides of Bag)
After completing the bottom panel:
- Crochet around all 4 sides of the rectangle using sc stitches.
- Place 1 sc in each stitch on the long sides.
- For the short sides, place 2 sc in each corner stitch to turn smoothly.
- Join with a sl st to the first sc.
- Ch 1 and continue sc in the round to start building height.
- Do not turn your work; keep going in a spiral or join at each round depending on your preference.
Repeat sc rounds until bag is desired height (typically 14–16 inches).
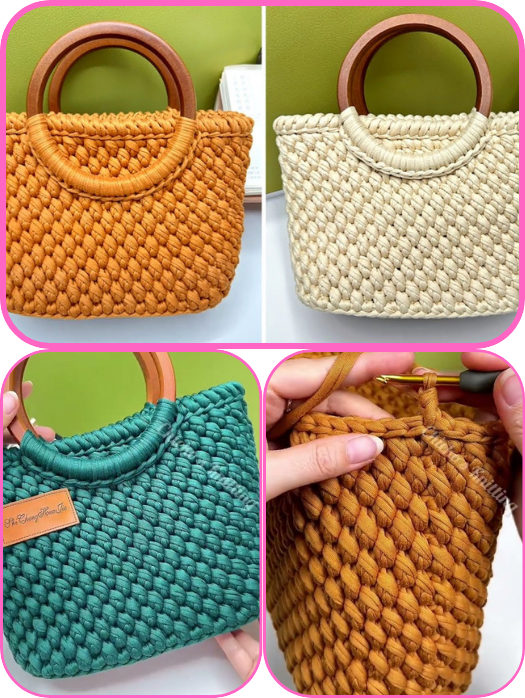
 Optional Pattern Variation:
- Alternate sc and dc rows for a textured look.
- Try 2 rows of hdc + 1 row of sc for a subtle stripe effect.
Step 4: Add Handles
- Mark handle positions using stitch markers. Space them evenly on both sides.
- When you reach the marked stitches:
- Chain 30–40 (depending on how long you want the strap).
- Skip the corresponding number of stitches on the body.
- Join the chain back to the body with a sl st.
- Continue sc around the top edge, working sc stitches into the chain to reinforce the handles.
Repeat for second handle on opposite side.
Step 5: Finish Off
- Crochet 2–3 more rounds around the top edge (including over handles) to strengthen the rim.
- Sl st to join.
- Cut yarn, weave in all ends with a tapestry needle.
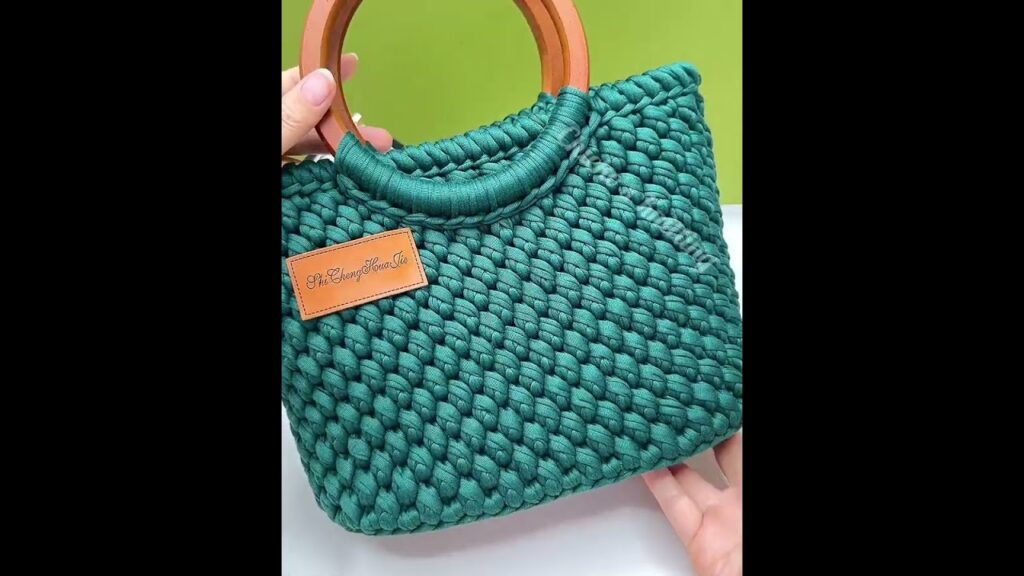
 Optional Add-Ons:
- Add a fabric lining for structure and strength.
- Sew on a button and loop closure.
- Attach tassels or pompoms for flair.
- Try color blocking or stripes!
 Care Instructions
Use cotton yarn for durability. Wash gently by hand or on a delicate cycle. Lay flat to dry.
 That’s It! You Just Made a Super Easy Crochet Tote Bag!
Let me know if you’d like:
- A printable PDF version
- A diagram or chart
- Video tutorials or photo step-by-step guides
Happy crocheting! 
Watch video:
Comments
Post a Comment