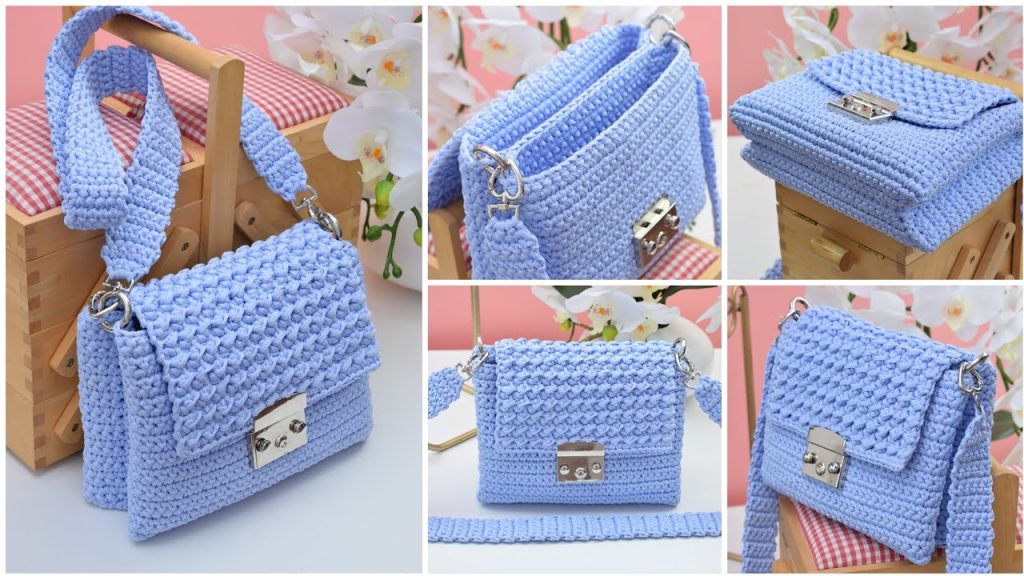
Sure! Here’s a detailed, step-by-step guide on how to make an elegant crossbody bag – perfect as an everyday modern crochet handbag. This tutorial covers everything from materials to finishing, with options to customize.
 How to Make an Elegant Crossbody Bag: Modern Crochet Handbag
 Skill Level:
Intermediate (some experience with crochet is helpful)
 Materials Needed:
| Item | Description |
|---|---|
| Yarn | 100-150g of cotton or polyester-blend yarn (Worsted/Medium Weight #4 recommended) |
| Hook | 4.0 mm (G) crochet hook (adjust for your yarn type) |
| Lining fabric (optional) | Matching cotton/polyester fabric |
| Zipper or magnetic snap | For closure |
| Bag strap | Leather strap or crochet your own |
| Metal hardware (optional) | D-rings, swivel hooks |
| Scissors, yarn needle, stitch markers, measuring tape |
 Finished Dimensions (Adjustable):
Approx. 10” wide x 8” tall x 2” depth
Stitches Used:
- CH – Chain
- SC – Single Crochet
- HDC – Half Double Crochet
- SL ST – Slip Stitch
- BLO – Back Loop Only (optional for texture)
Pattern Overview:
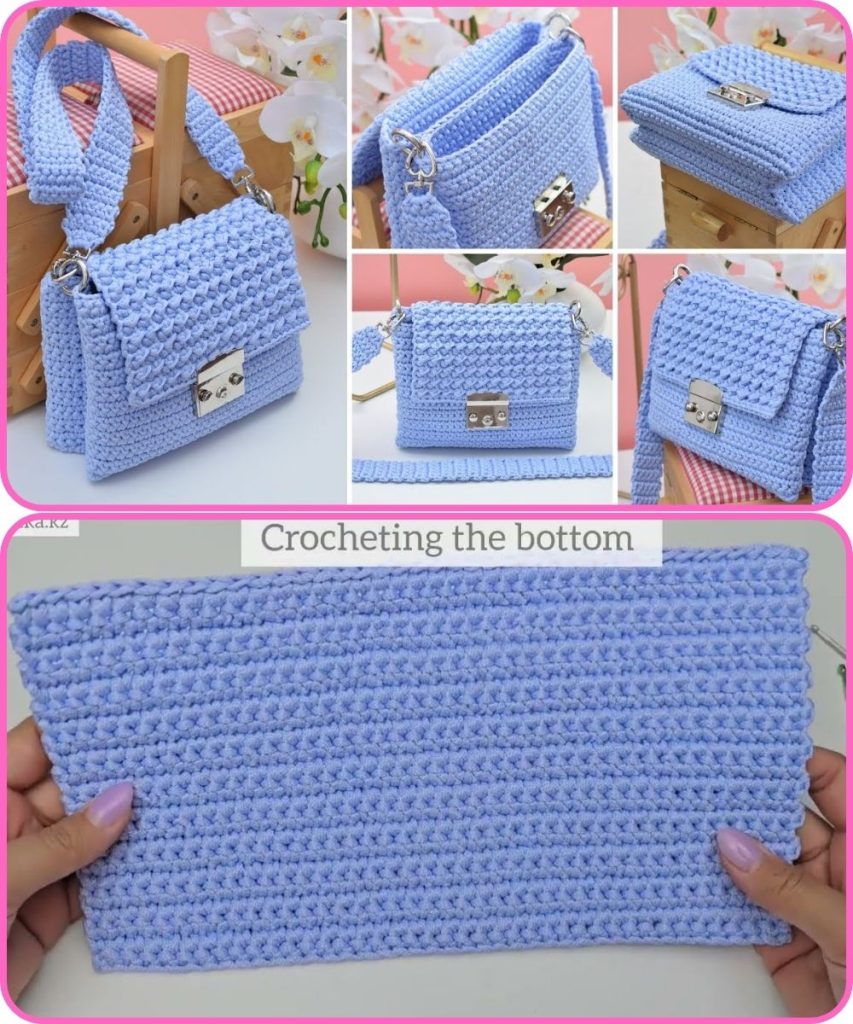
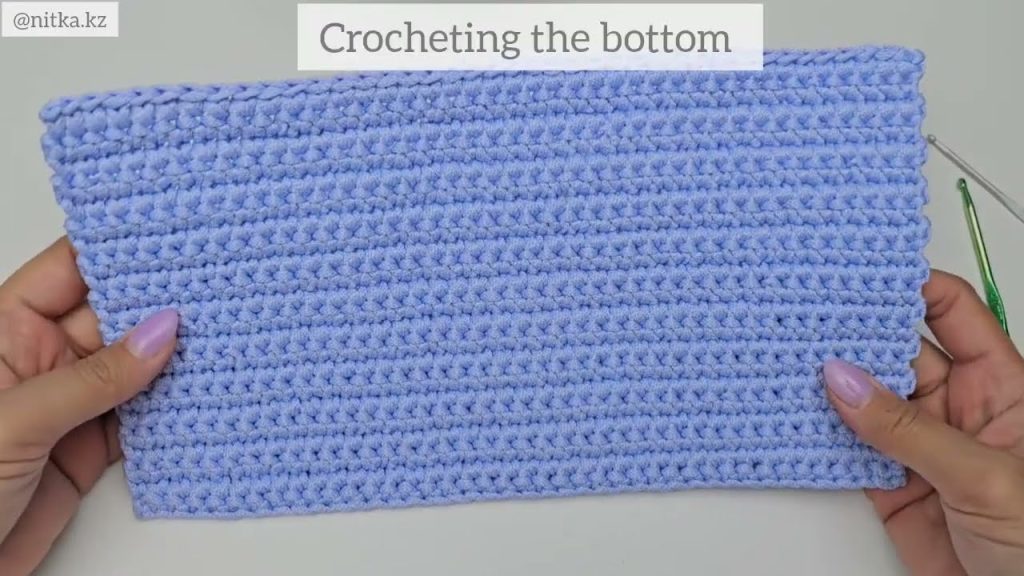
1.  Base of the Bag:
We’ll begin by creating a flat rectangular base.
Row 1: CH 31 (or your desired bag width)
Row 2: SC in 2nd CH from hook, SC across (30 SC). CH 1, turn.
Row 3-10: SC across. CH 1, turn.
Adjust rows to increase base depth.
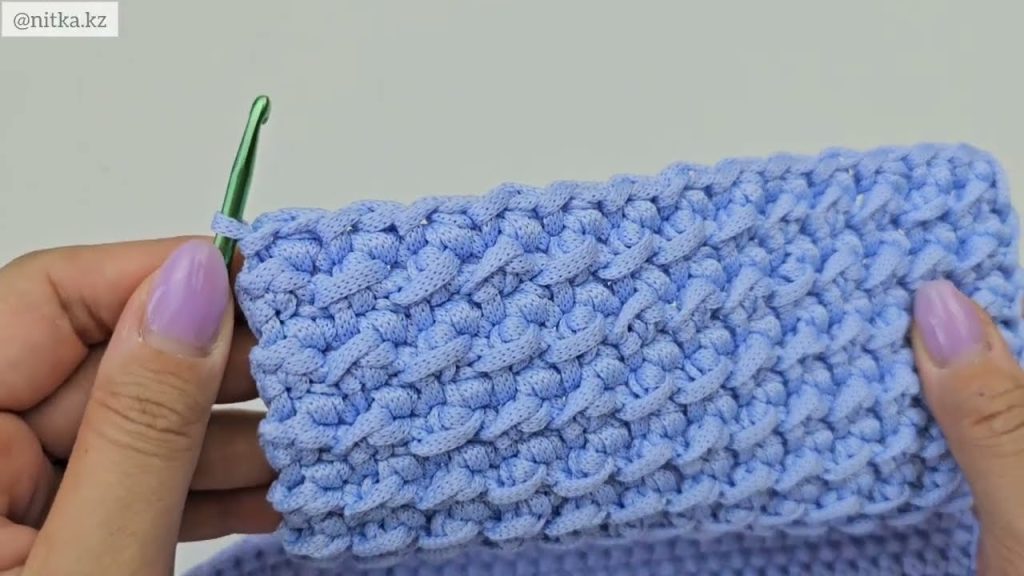
2.  Build the Sides:
Now you’ll work around the base in rounds to build the height of the bag.
Round 1: SC around all four sides of the rectangle (placing 3 SC in each corner). Join with SL ST. CH 1.
Round 2–15: SC or HDC in each stitch around. Join, CH 1.

*Optional: Use BLO for several rounds to create a textured ridge.*
Adjust the number of rounds for desired height.
3.  Add Texture (Optional):
You can alternate stitch types every few rounds:
Round 5: *HDC, SC, HDC, SC* repeat for texture
Round 6–10: BLO SC or HDC for ribbing effect
4.  Shaping the Flap (Optional):
If you want a flap-over style bag instead of a zipper:
Row 1: From back side, mark center 20 stitches.
Row 2–10: SC across those 20 sts. CH 1, turn. Decrease 1 st each side every other row.
Row 11: You’ll end with 2 or 3 stitches — create a buttonhole by CH 2, skip 1, SC.
5.  Finishing Touches:
Add Lining (Optional):
- Cut fabric to match bag size + ½” seam allowance
- Sew sides of lining
- Hand stitch into crochet bag
Install Zipper or Snap:
- Hand-sew zipper or magnetic snap at the top
- Reinforce with fabric if needed
 Making the Crossbody Strap:
Option 1: Crochet Strap
Row 1: CH to desired strap length (usually 40–50 inches)
Row 2: HDC across. CH 1, turn.
Row 3–5: Repeat for a thick strap. Fasten off.
Attach to sides using D-rings or directly sewn.
Option 2: Leather or Fabric Strap
- Purchase premade leather strap with hooks
- Attach to bag with D-rings or sew in loops
 Style Variations:
| Variation | Description |
|---|---|
| Color-blocking | Use 2-3 colors in horizontal stripes |
| Granny square flap | Add vintage-modern touch |
| Tassels or fringe | Add at bottom or sides |
| Embroidered patches | Sew on for a personalized look |
 Care Tips:
- Spot clean or hand wash gently
- Avoid machine drying if using wool or cotton
- Store flat to retain shape
 Final Thoughts:
Crochet handbags are a fantastic way to combine fashion and function. This modern crossbody bag design works great for daily use — it’s durable, customizable, and elegant. Whether you prefer a minimalist look or a pop of color, this pattern can be adapted to match your style.
Watch tutorial:
Comments
Post a Comment