Sure! Here’s a detailed step-by-step guide on how to make an easy crochet bag for beginners. This tutorial is simple, stylish, and perfect for anyone new to crochet. 

 How to Make Easy Crochet Bag for Beginners
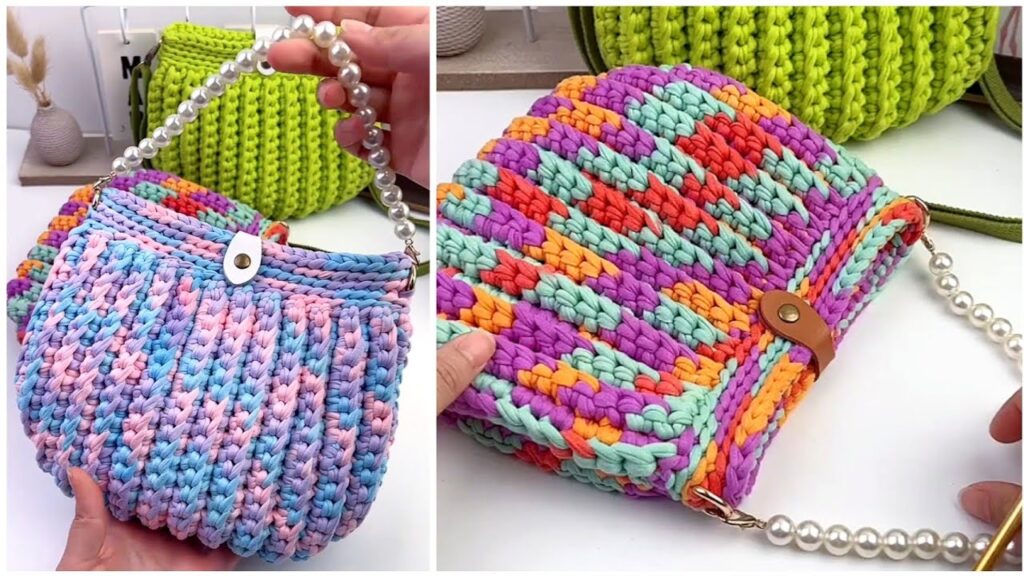
Amazing Crochet Bag Idea!
 What You’ll Learn:
- How to crochet a basic bag from start to finish
- How to make sturdy handles
- Tips to make your bag look neat and professional
 Materials Needed:
- Worsted weight yarn (cotton yarn is a great choice for bags)
- Crochet hook (Size 4.0mm–5.5mm, depending on your yarn)
- Scissors
- Yarn needle (for weaving in ends)
- Stitch marker (optional)
- Lining fabric (optional for durability)
- Magnetic snap or button (optional for closure)
 Basic Stitches to Know:
If you’re a beginner, here are the essential stitches used in this project:
- Chain (ch)
- Single Crochet (sc)
- Slip Stitch (sl st)
 Step-by-Step Instructions
 Step 1: Make the Base of the Bag
- Foundation Chain
Chain 30 (or more, depending on how wide you want the bag). - Round 1
- Single crochet into the 2nd chain from the hook and each chain across.
- When you reach the end, make 3 single crochets in the last stitch to turn the corner.
- Continue single crocheting along the bottom of the chain.
- Add 2 more single crochets in the final stitch to complete the round.
- Slip stitch to the first sc to close the round.
- Round 2-8 (or desired height)
- Work in continuous rounds of single crochet.
- Place a stitch marker at the beginning of each round to keep track.
- Increase at the corners if needed to keep the base flat.
 Step 2: Build the Body of the Bag
- Round 9 and onward
- Continue crocheting single crochet stitches around.
- Don’t increase stitches now—this builds the sides of the bag.
- Crochet until the bag is the height you want (around 20–25 rows is a nice medium size).
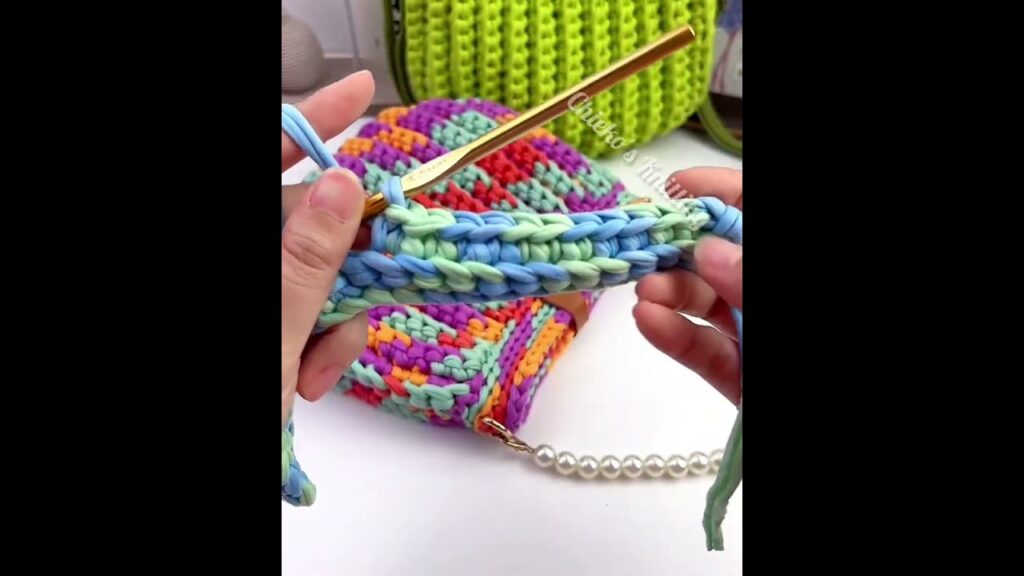
 Step 3: Make the Handles
Option 1: Built-in Handles
- When your bag is the right height:
- Single crochet around until you’re at the side of the bag.
- Chain 20–30 (this will be your handle), skip the same number of stitches, and sc into the next stitch.
- Repeat on the other side.
- On the next round, single crochet into each stitch and across each chain to reinforce the handles.
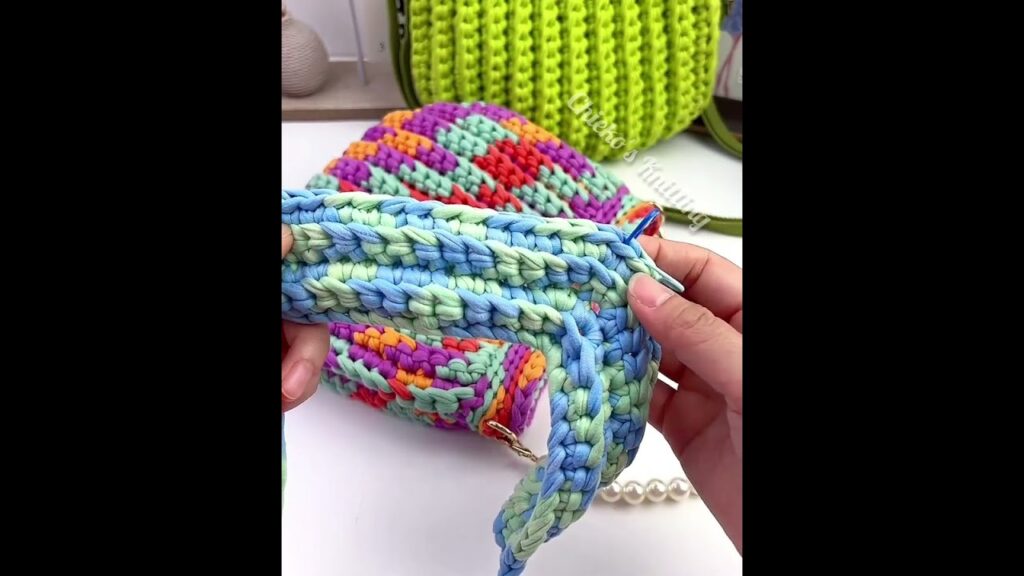
Option 2: Separate Handles
- Chain 60–80 (for shoulder length).
- Work 2–3 rows of single crochet across the chain.
- Sew the ends securely to the inside of the bag.
Step 4: Finishing Touches
- Weave in all loose yarn ends with a yarn needle.
- Block your bag to give it a neat shape (optional).
- Add a lining for strength and durability (hand-sew or machine-sew inside the bag).
- Attach a button, magnetic snap, or zipper if desired.
 Optional Customizations
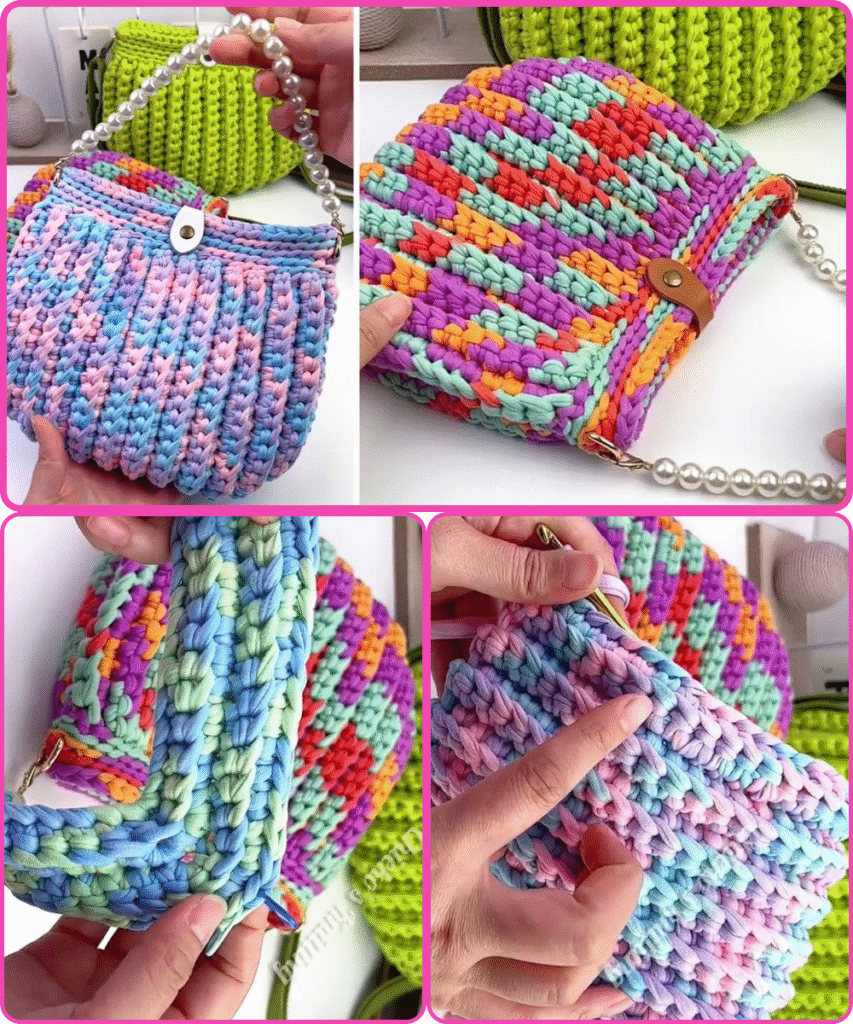
- Use color changes or stripes for a fun look.
- Try a granny square design for a patchwork-style bag.
- Add tassels, pom-poms, or beads for decoration.
 That’s It! You Made a Crochet Bag!
Perfect for markets, books, or a cute day out. This project is beginner-friendly and can be completed in a few hours. Once you’ve mastered the basics, you can experiment with shapes, textures, and embellishments.
Would you like a video tutorial recommendation, pattern template, or diagrams to go with this? Let me know!
Watch video:
Comments
Post a Comment