
Sure! Crocheting a “Pretty Lace” Baby Dress is a beautiful project, especially for baby showers, gifts, or your own little one. Below is a detailed step-by-step guide for making a crochet lace baby dress, suitable for beginners to intermediates, depending on the lace complexity.
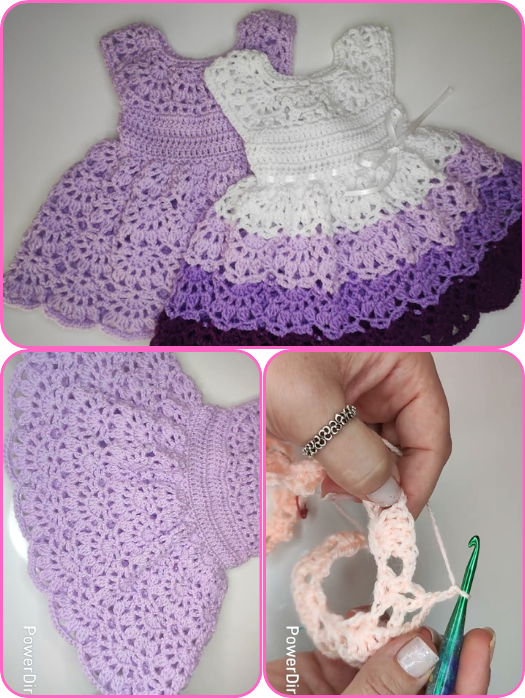
 How to Crochet a “Pretty Lace” Baby Dress (0–6 Months Size)
 Materials Needed:
- Yarn: Lightweight (Category 3 or Sport/Baby yarn); soft cotton or acrylic blend.
- Approx. 250–300 grams depending on size
- Hook Size: 3.5 mm (E) or as recommended by your yarn
- Scissors
- Yarn needle
- Buttons (3–5 small ones)
- Stitch markers (optional)
 Step-by-Step Instructions
STEP 1: Start with the Yoke (Top Part)
We’ll begin by working in rows or rounds to create the circular yoke.
Foundation Chain:
- Chain 60 (or adjust based on pattern gauge and baby’s chest size)
Yoke Setup:
- Row 1: Double crochet (DC) in the 4th chain from hook, DC across. (You should have 57 DC)
- Row 2–6: Work increases at 4 points (typically front, back, and sleeves) to create a rounded yoke.
- Use stitch markers to mark increase points
- For example: DC to marker, (DC, ch 1, DC) in marked stitch, continue
 You can customize the yoke with shell stitches (5 DC in one stitch) for a lacy touch.
STEP 2: Create Armholes
- After reaching your desired yoke depth (usually around 4–5”), divide stitches:
- Join front and back with chains under each arm to create armholes.
- Skip sleeve stitches.
Example:
- Join 20 front stitches, chain 5, skip 10 sleeve stitches, join 20 back stitches, chain 5, skip 10 sleeve stitches. Continue in the round.
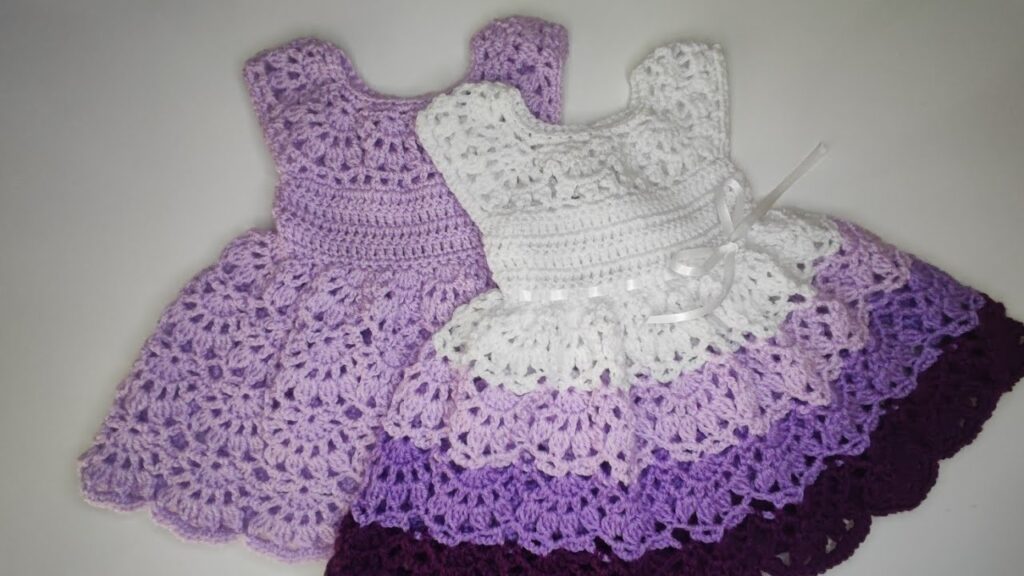
STEP 3: Crochet the Skirt (Lace Design)
Here’s where the “Pretty Lace” pattern shines.
Lacy Shell Pattern (Example):
- Round 1: SC around
- Round 2: (SC, skip 2 stitches, 5 DC in next stitch, skip 2 stitches) repeat around
- Round 3: (SC in center DC of shell, 5 DC in SC) repeat around
 Repeat lace pattern for about 7–10 inches or your desired dress length.
STEP 4: Add Edging (Optional)
Use a picot or scalloped edging for sleeves, hem, and neckline.
Simple Picot Edging:
- (SC, ch 3, slip stitch into 1st ch, SC in next 2 stitches) repeat
STEP 5: Make Button Flap & Finish Back
- For the back opening (yoke area), leave a small slit.
- Add 3–5 rows of SC for each flap.
- Sew buttons on one side and create chain-loop buttonholes on the other.
STEP 6: Finishing Touches
- Weave in all loose ends
- Block gently with steam or a damp towel to even out stitches
 Optional Customizations
- Add a ribbon belt around the waist
- Crochet tiny flowers and sew on the neckline or hem
- Use contrast yarn for stripes or borders
 Care Instructions (Important!)
- Wash gently in cold water
- Lay flat to dry
- Avoid bleach or strong detergents
Watch video:
Comments
Post a Comment