Certainly! Here’s a detailed step-by-step guide on how to make an easy baby bolero or jacket, along with some simple bolero models that are perfect for beginners. These instructions can be adapted for both crochet and knitting, but I’ll start with a basic sewing version, followed by simple crochet and knit options.
 Easy Baby Bolero (Sewing Version)
 Materials:
- Soft cotton or jersey fabric (approx. 0.5 to 1 yard, depending on size)
- Matching thread
- Scissors
- Pins
- Sewing machine or needle for hand stitching
- Baby bolero pattern (optional, can also be drafted easily)
 Instructions:
1. Choose or Draft a Simple Pattern
- You can use a free online baby bolero sewing pattern.
- Or draft your own: Trace around a baby shirt or onesie for a rough outline, shortening it to bolero length (just above the waist).
2. Cut Your Fabric
- Fold your fabric in half.
- Pin your pattern and cut out: 1 back piece, 2 front pieces (mirrored), and 2 sleeves.
3. Sew Shoulder Seams
- With right sides facing, sew the front pieces to the back piece at the shoulders.
4. Attach Sleeves
- Align the center of the sleeve with the shoulder seam.
- Pin and sew the sleeve to the armhole.
5. Sew Sides and Sleeves
- Fold the bolero in half (right sides together).
- Sew from the end of the sleeve to the armpit, then down the side seam.
6. Hem and Finish
- Fold and sew hems along the sleeves, bottom edge, and neckline.
- Add optional trims like lace, bows, or buttons.
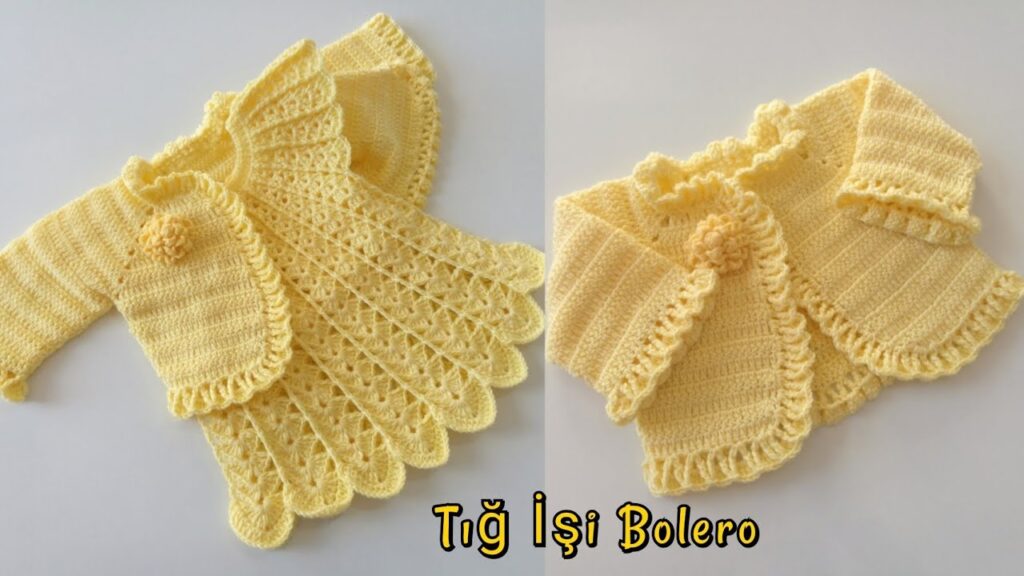
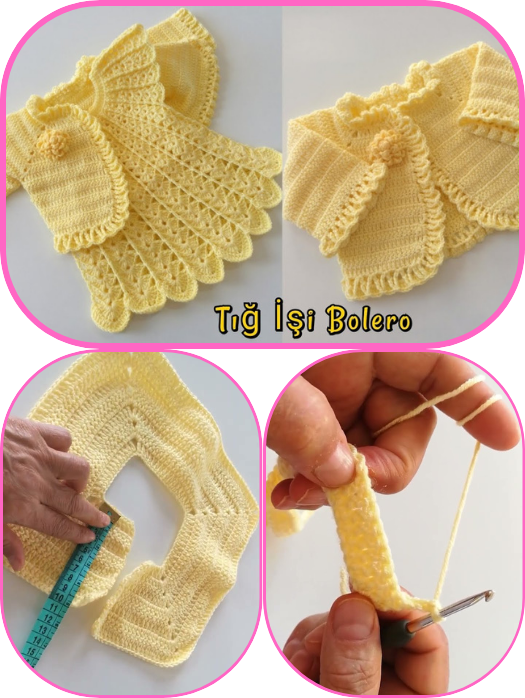
 Easy Crochet Baby Bolero (Beginner-Friendly)
Materials:
- Soft baby yarn (light weight, like DK or sport weight)
- Crochet hook (usually 4 mm or G/6 for DK)
- Yarn needle
Pattern Overview (Top-Down Raglan Style):
- Foundation Chain – Start with a chain that goes around the neckline.
- Yoke – Work in double crochet, increasing at 4 raglan points (front left, front right, back left, back right).
- Body Separation – Once yoke is big enough (covers shoulders), separate the sleeves and body.
- Body – Continue working in rounds or rows to desired bolero length.
- Sleeves – Attach yarn to armholes and crochet sleeves in the round.
- Finishing – Add border (scallop, shell stitch, or ribbed edging), buttons if desired.
 Tip: Try simple stitch patterns like:
- Double crochet (dc)
- Half double crochet (hdc)
- Shell stitch for edging
Easy Knit Baby Bolero
Materials:
- Soft baby yarn (DK or worsted weight)
- Knitting needles (size appropriate to yarn, usually US 6–8)
- Stitch markers
- Yarn needle
Simple Knit Bolero (Top-Down):
- Cast on stitches for the neckline.
- Knit the Yoke in garter or stockinette stitch.
- Use increases at raglan lines (e.g., yarn overs or M1).
- Separate sleeves and put them on holders.
- Knit the body down to bolero length.
- Pick up sleeve stitches and knit in the round or flat to desired length.
- Add edge trim, like garter or picot bind-off.
 Simple Bolero Models & Design Ideas
- Shrug Style Bolero
- Made from a rectangle, folded and seamed at sleeves.
- No complex shaping!
- Round Yoke Bolero
- Circular increase makes it very soft and pretty.
- Lace Edge Bolero
- Use a simple stitch for the body and a lace stitch for the trim.
- Tied-Front Bolero
- Instead of buttons, add a ribbon tie.
- Sleeveless Vest Bolero
- Skip the sleeves – makes it cooler for summer wear.
 Approximate Sizes (Guideline)
| Age | Chest Circumference | Finished Width | Yarn Needed |
|---|---|---|---|
| 0–3 mo | 16 in (40 cm) | 17–18 in | 100–150g |
| 3–6 mo | 17 in (43 cm) | 18–19 in | 150g |
| 6–12 mo | 18 in (45 cm) | 19–20 in | 150–200g |
Watch video:
Comments
Post a Comment